Hi Friends!
I am excited to share one of my favorite Fall TableScape for this year.
This post contains affiliate links, which means if you make a purchase at a shop that I have linked, I may receive a commission at no extra charge to you. Thank you for supporting my business!
Long ago while touring homes for sale…before I was a Stager, before I was an Interior Decorator and before I was a Realtor…I noticed that some of the homes we toured had the tables set very beautifully. I only did that for company! I LOVED IT! From that time on, I rarely leave my tables plain. I use these surfaces for setting a tone in my home. The dining room is a place that is not used daily, so if you have misgivings about doing this in your kitchen you can just do it there. I do it everywhere. The plates are clean and ready to be used, so it makes getting dinner on the table just that much easier AND you are treating your family to a festive meal rather than just saving your decor and special dishes for one day of the year that you are entertaining others outside of your immediate family.
So let’s get started with my simple steps to layering for a Professional Looking Fall Tablescape.
Layering a Tablescape
1. Start with a table cloth or a placemat
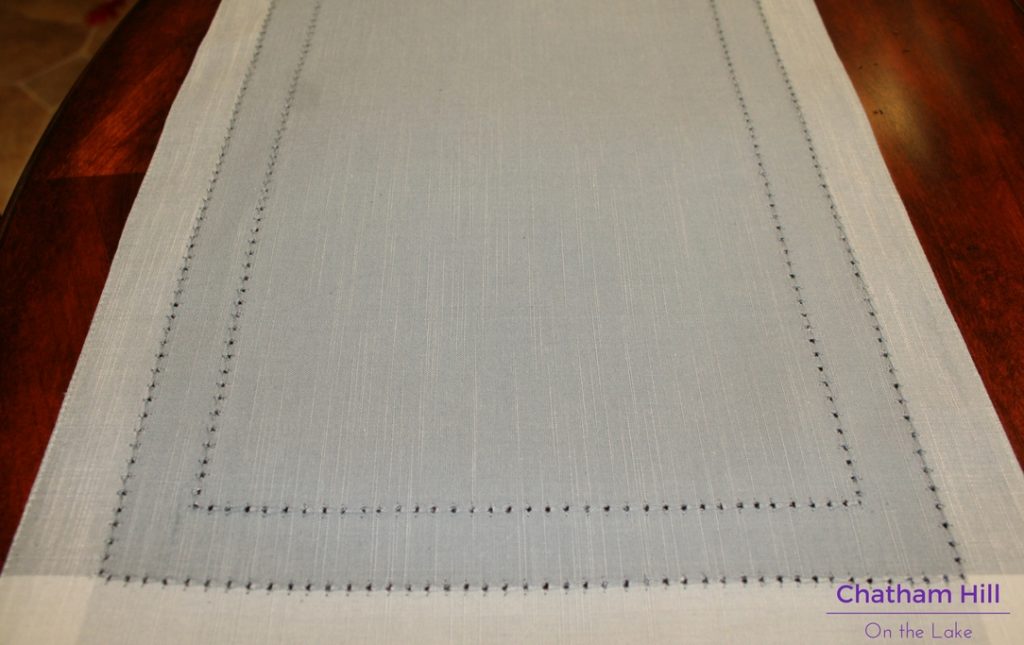
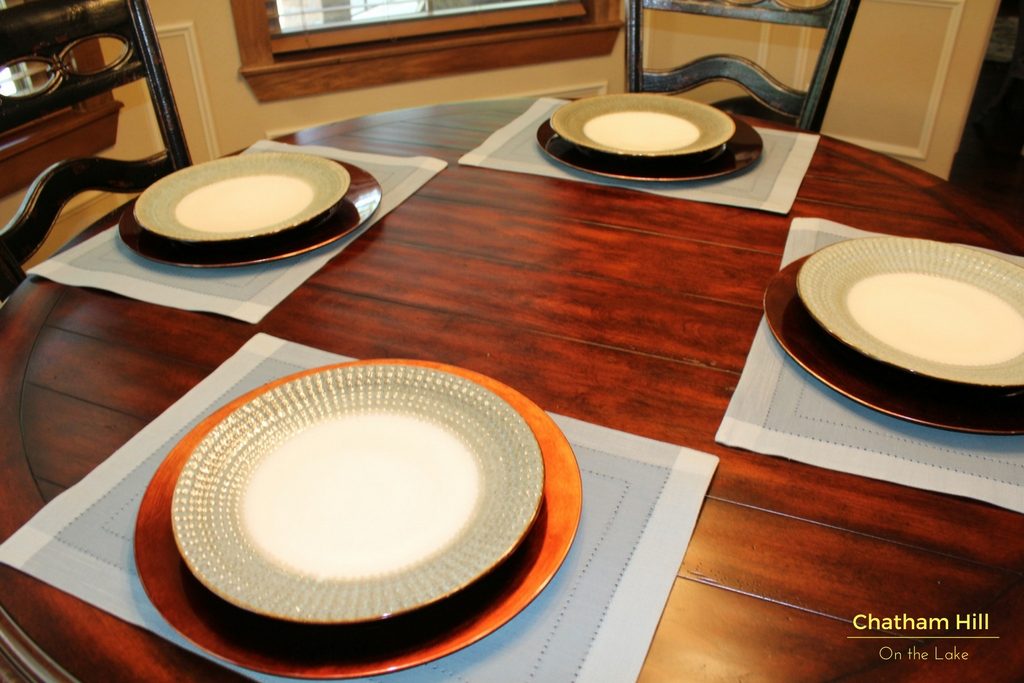
I chose to use placemats for this Fall Tablescape because I love my table top and the warm color of the wood, the distress and panelling makes it a bit rustic which for me fits the Fall decor perfectly. The contrast of the wood and the cloth with the fine ticking just excites me!
These are inexpensive cloth placemats that I love for the color and the stitching.
2. Use Chargers
Use Chargers for an added pop of color or texture. The way I view a place setting is a bit like framing a picture. I select a special plate – my feature plate – which I will detail below and everything beneath that plate is acting as my borders and frame. You can get the idea by looking at pictures in a shop and seeing one framed and one with a border and frame and one with a double border and frame. The one that will pop and look the most expensive will be the last one and that is the key in making the table setting the best it can be. Adding layers that frame the feature plate that provide contrast and build it up will give your table the greatest impact possible.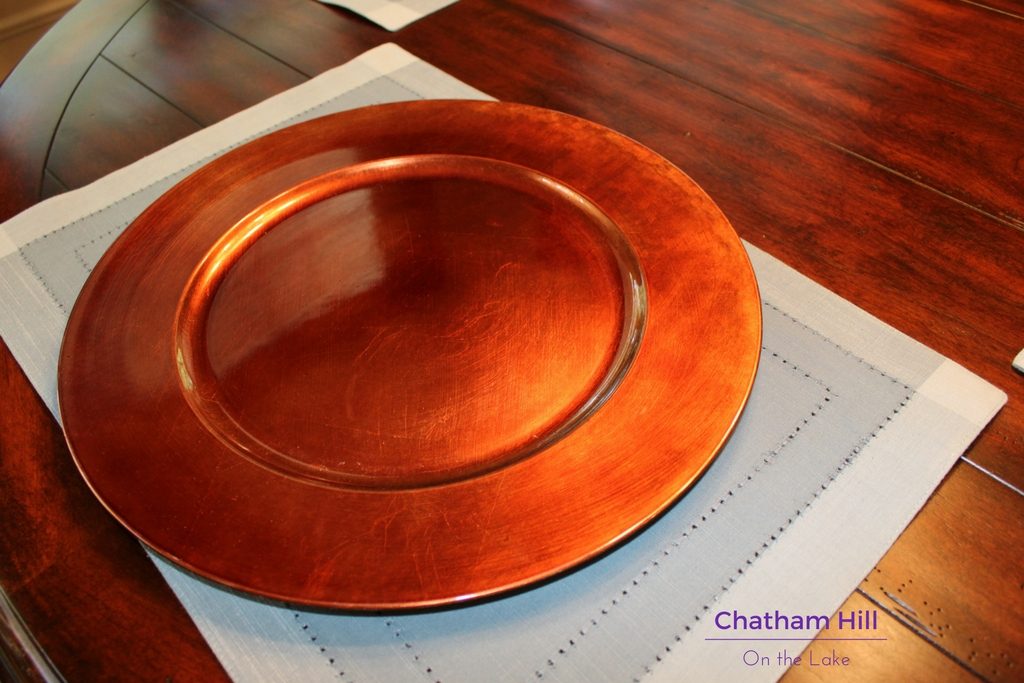
These chargers are plastic and very inexpensive. They shine like copper and I chose them to highlight colors in the featured player of this setting my final plate.
3. The Border Plate
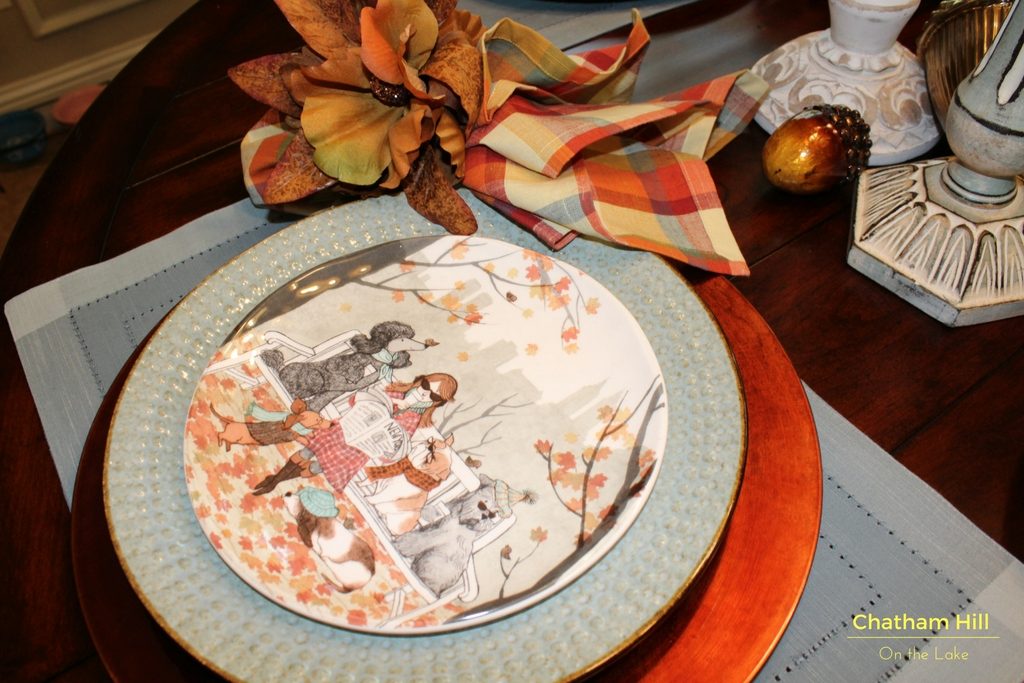
The Border plate plays its role as yet another border to the feature plate. In this case, I am just in love with the texture on this plate. It also happens to have the blue of my feature plate and that brushed over color that is around the texture and rim of this plate is drawn out by the copper plate charger behind it.
Here is a view of where we are at this point with the first 3 layers of the Fall Tablescape. Truly very simple so far! If you don’t have chargers, you can get them from The Dollar Store, Walmart, Pier 1 Imports, or Potter Barn!
4. Feature Plate
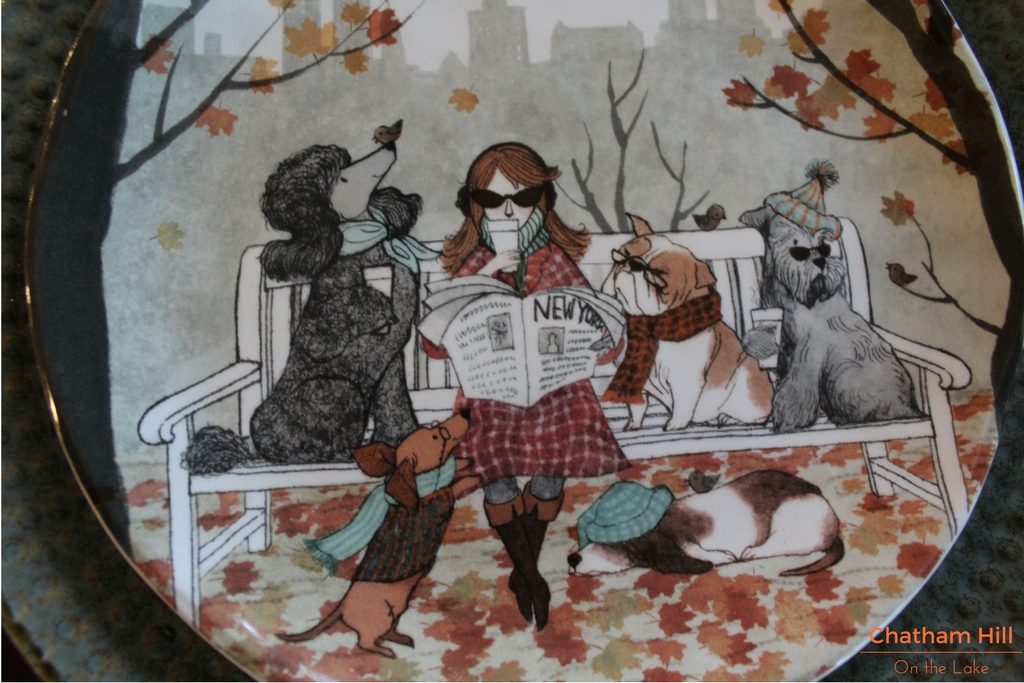
I was so EXCITED to discover these plates! I mean seriously they are totally not your typical pumpkin plates for Fall. Don’t get me wrong, I love Pumpkin plates and you will see some displayed at my Festive Fall Home Tour on Sept 21.
But truly a little play on the colors of Fall while having some Autumn tones, they have mixed in with this calming gray blue, and grays. Then the subject matter is humorous with the doggies and their activities. A little nod to the fashion mecca NYC with the paper and skyline behind. I am from the mid-west, but I just could not resist these spectacular plates.
For more Fall Decor, check out my post on Making a Vibrant Fall Centerpiece in Under 3 Minutes!
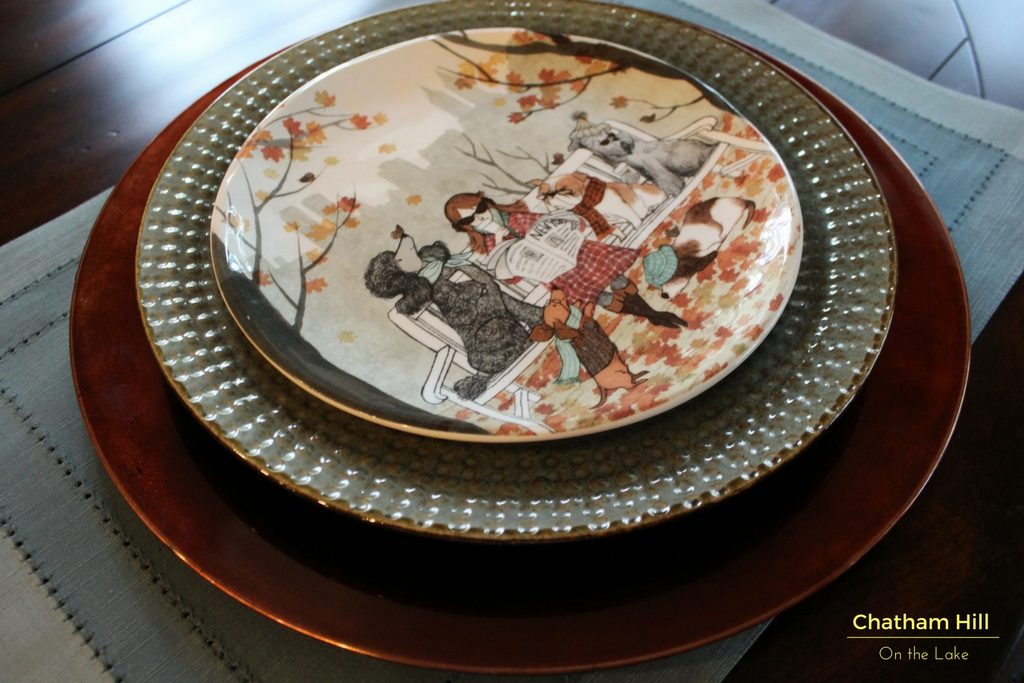
Ooh! Here we go! Is this not just amazing? Could you just imagine coming in to the kitchen and seeing this everyday during the fall?
5. Select a Standout Napkin Ring!
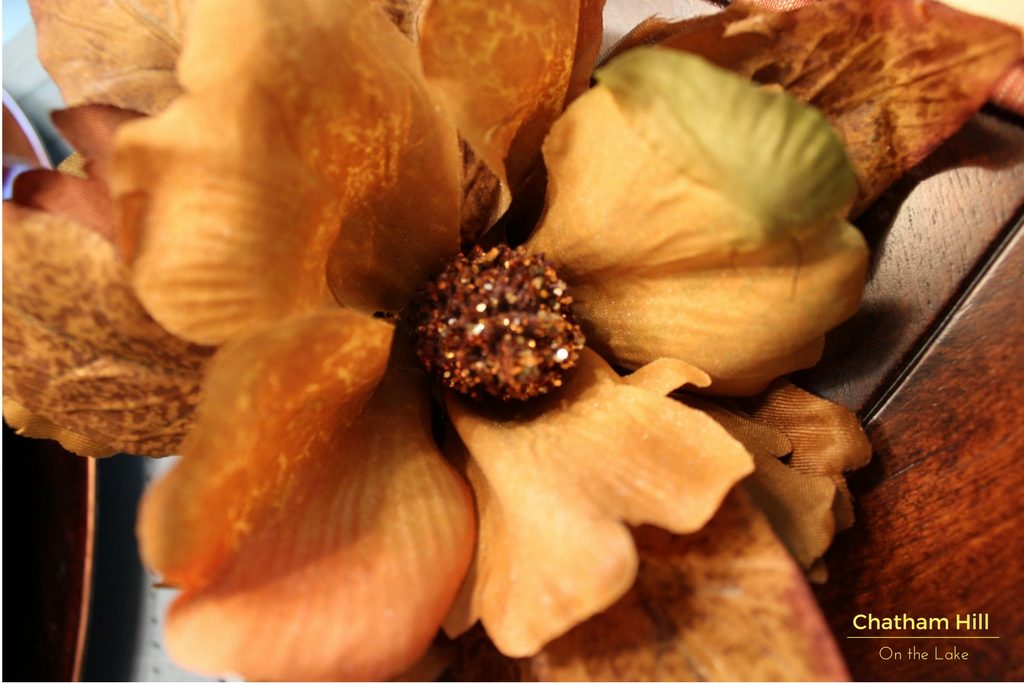
Napkin Rings used to be just a ring. Brass, Silver, Gold, Wood and plain. But things have certainly changed over the years. Selecting a big ole flower may seem a bit crazy to you but it really struck me that the color, the sparkle of the center, the softness all made me smile and I loved how it looked with my setting.
Lots of others could have worked as well. There is no hard rule on selecting this except that you love it and think it supports the look you are going after for your table….Formal? Relaxed? Sparkling? etc!
6. Select the Napkin!
Many people think cloth napkins are for formal affairs only. For those who enjoy the tablescape looking more decked out, the cloth napkin is one more layer…Layer #6…in pulling off the professional Fall Tablescape.
Solids, sheers, prints and plaids, anything goes as long as it enhances the previous 5 layers. You are building upon the elements already in place. Your main goal is to highlight your Feature Plate and bring the color palette together.
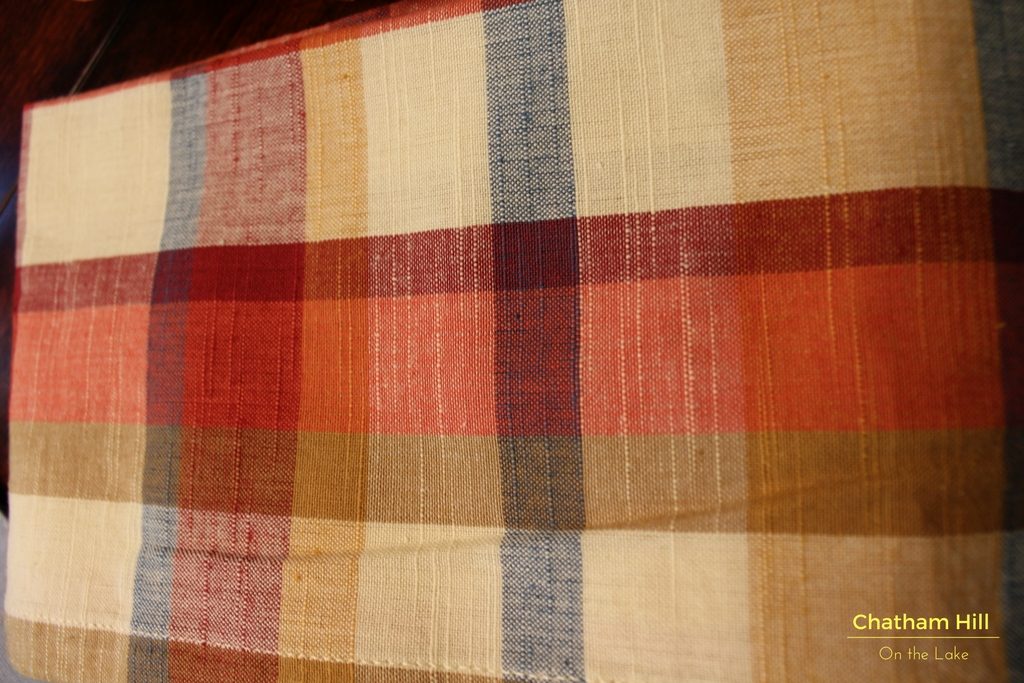
I selected a simple plaid. Again, like the napkin ring, this would not be a normal selection for me. But I go through a store or my home supply of items and try out things even if I am not that drawn to them because it isn’t until it is next to the items that you can really get the feel of what this piece brings to the whole.
The plaid had muted colors similar but not identical to the palate I had built so far. A touch of blue, gold, wheat and burnt orange.
I loved the total look!
Normally the napkin would be placed along the side of the plate with the open ends pointed towards the edge of the table.
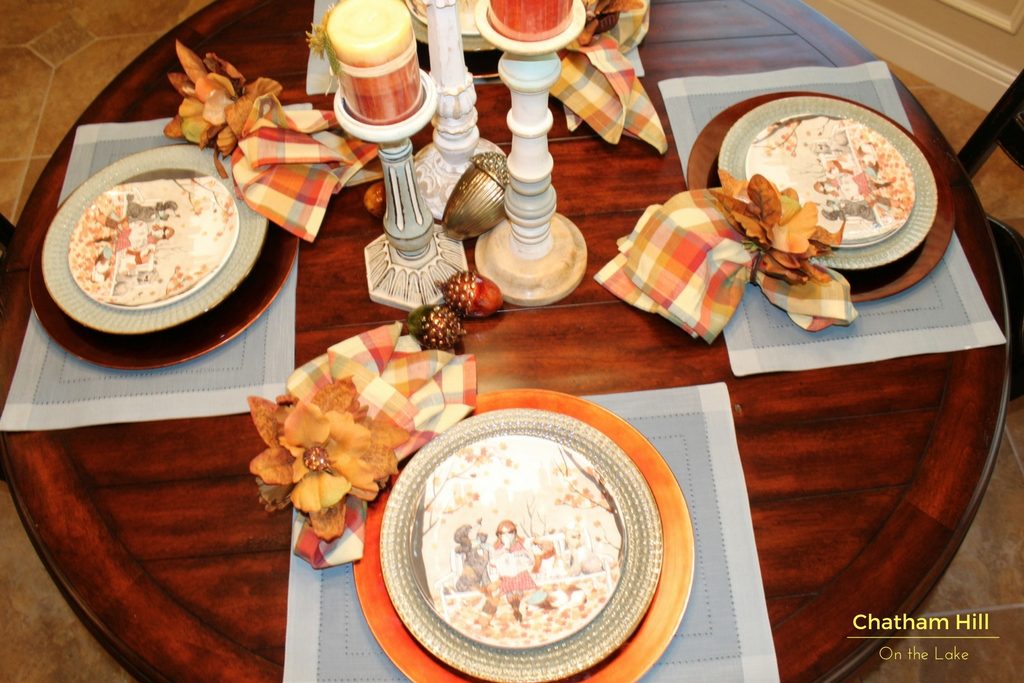
Here we have taken a different approach to add the pop of the floral napkin ring to the Upper Left corner and backwards so the many folds and fluffs direct the eye to the centerpiece.
There is scientific proof that when reading anything whether written word or a picture, our eyes have a track pattern. They start at the Top Left, cross to the Opposite Side and cross back to Lower Left crossing back and forth in pattern until the end of the piece or picture.
So the purpose in placing the napkin at the starting point was its size and balance in my final look. Start with the biggest items and work toward a soft and quiet resolution.
7. Final Layer
A Centerpiece is probably many folk’s first layer, but to me it needs to be the final accent to the picture that you have presented at the place settings.
I could have chosen a metal lantern, some other unique items related to the plate like doggie statues layered on books, but I was in the store and wanting to get this done so I had to use what was in front of me.
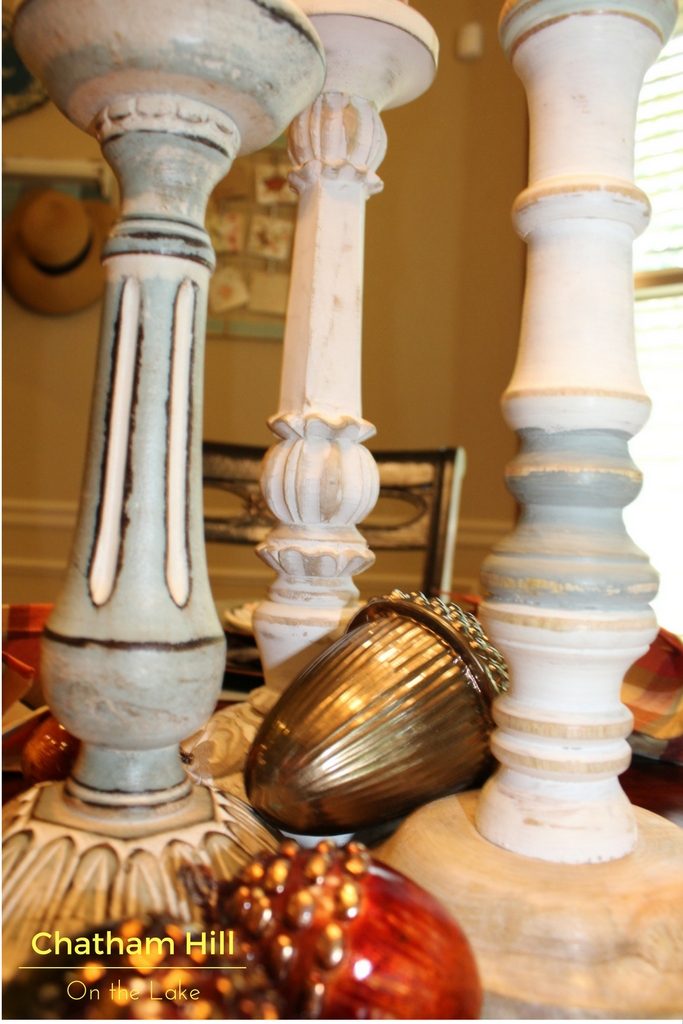
Again, I may have broken a rule or two. I picked three different styled candlesticks rather than three of the same kind. I loved the different carvings and colors. The wood really spoke to the natural aspect of Fall.
This is probably the first time that I selected two candle sticks of the same height and it truly was a mistake. I thought I had three different heights which is pleasing to the eye. But there weren’t three different candle heights, so in the end the overall perception is still that there are three different heights despite my mistake.
The candles are multicolored and have a little ribbon with a pumpkin hanging on them. They are scented and that is important to me because I like to bring the holiday decor to life with every sense of our body and scent is a special one this time of year.
The Final Fall Tablescape!
What do you think?
Just to let you know how I began the process of making this tablescape. I started with the Feature Plates. From there I began to build backwards. I found the base plate, the charger, the placemat, the napkin ring and napkins all to play off of this plate.
The center piece was also chosen based on the styling of this plate.
So I know what your next question is…where did I get all of these lovely items?
This post contains affiliate links, I receive a small commission if you make a purchase through that site at no extra charge to you. Thank you for supporting my business.
Every single item was purchased in August at Pier 1 Imports. This is not a sponsored post. I just love the store and have used them for years in my decorating and staging businesses. Every time I need something like art, pillows, dishes – Pier 1 will be on my stop for shop list.
Here is the short version to keep on your Pinterest Board!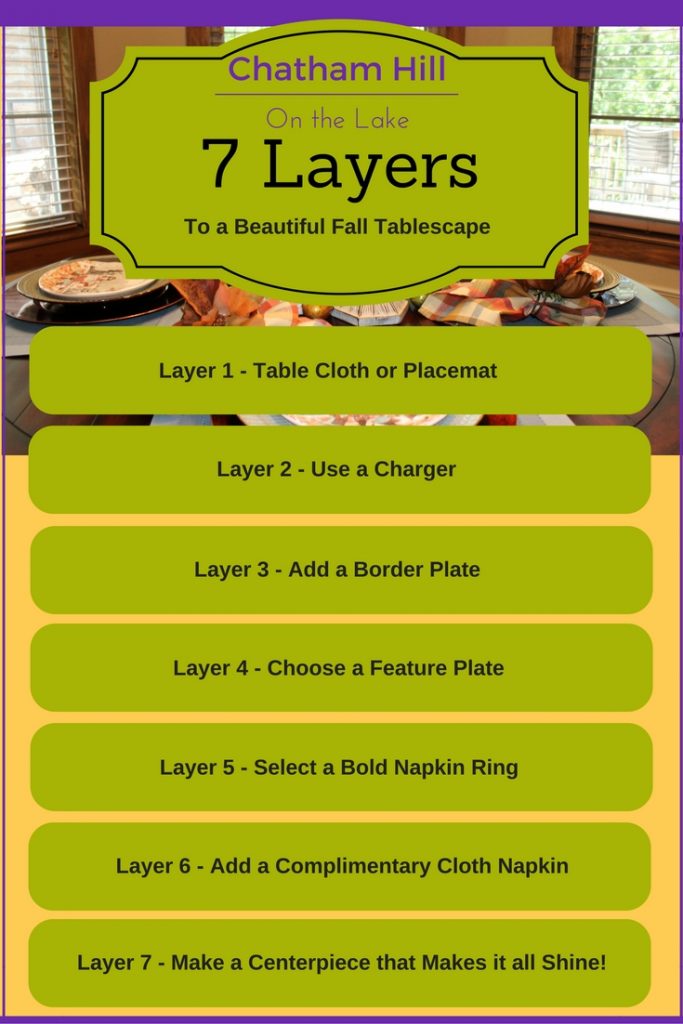
I would love to hear your thoughts, answer any questions and get to know you, my readers better~
Sharing at Celebrate Your Story!
 Top
Top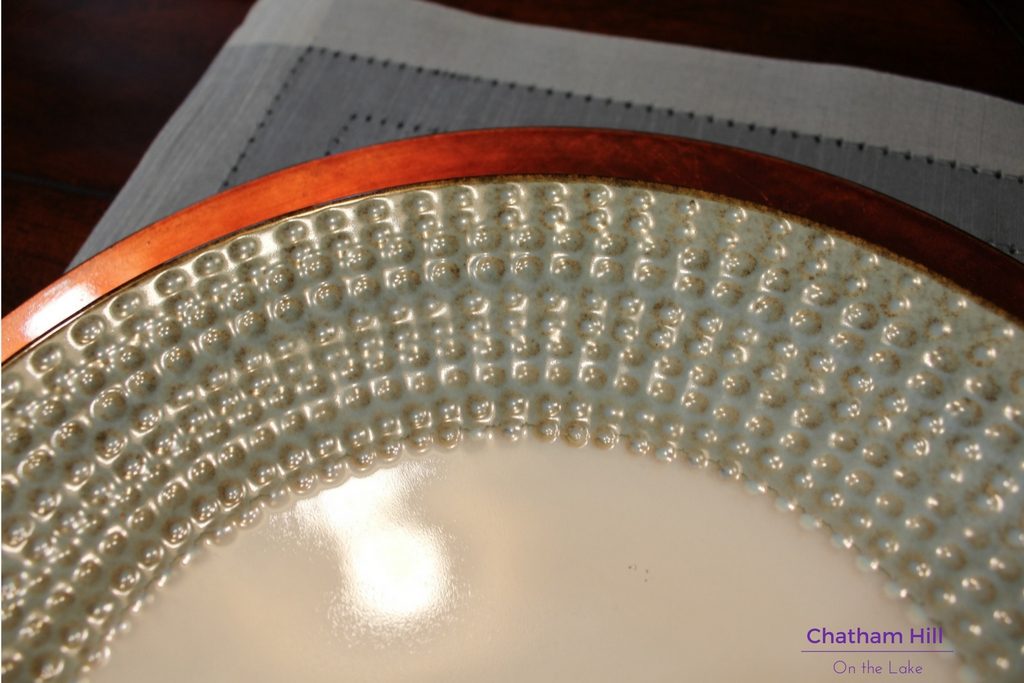



I love it Debbie, you are very talented!
thank you Fiona, I just learned to copy fabulous ideas when I saw what I loved.
OMG!!! I am working on my table and this really helped to get me focused! Thank you!!! My only problem- I have some great placemats that look like leaves. When I put my plates on them, you lose the idea that the placemats are leaves. Any ideas?
I’ve seen those….one thought is to not really use them as placemats but stagger them from beneath or around the plates especially if you have them focused towards the center and sort of overlapping them…if you still need something under the plates start with a table cloth? My best advice is play with it. I often have a plan and as I pull it together I see another thought and go in another direction.
I LOVE those plates! Pier 1 is the best!
I knew you would approve! They are simply darling.
This was a great ‘nudge for me to get to work finishing a book I am writing on tablescapes! Those plates!!!! I LOVE them! Did you find those at Pier One this year? I haven’t seen them, but I will be looking for them, they are right up my alley! Thanks so much for Celebrate Your Story!
Yes everything just two weeks ago and they still have them. They actually just came out with another set of similar style and color with just dogs,but this is definitely the cutest. I have to confess I went back Tuesday and bought two more different settings to photograph for our Fall Home Tour. I am a dish addict for sure!